Bissell 18Z6 User Manual
Browse online or download User Manual for Vacuums Bissell 18Z6. Bissell 18Z6 User Manual
- Page / 20
- Table of contents
- TROUBLESHOOTING
- BOOKMARKS
Summary of Contents
U S E R ’ S G U I D E89Q9/18Z6 SERIES3Safety Instructions4Product View5-6Assembly6-9Operations 10-15Maintenance and Care16-17Troubleshooting18Consum
To maintain maximum cleaning performance, the following maintenance steps must be performed:1. Empty the dirt container when the dirt reaches the “F
11w w w . b i s s e l l . c a 1 - 8 0 0 - 2 6 3 - 2 5 3 5Maintenance and careCleaning the secondary cycloneUnplug the cleaner from electrical outlet
Maintenance and careCheck your vacuum cleaner’s rotating floor brush and drive belt regularly for debris, wear or damage. Debris can wrap around the b
WARNING: To reduce the risk of electric shock, turn Power Switch OFF and disconnect polarized plug from electrical outlet before performing maintenan
Maintenance and careCleaning clogsLow suction or poor pickup may be due to a clog in the vacuum cleaner. If you notice a change in the sound of the
Maintenance and careThermal protectorAn internal thermal protector has been designed into your cleaner to protect it from overheating. When the therma
WARNING: To reduce the risk of electric shock, turn power OFF and disconnect polarized plug from electrical outlet before performing maintenance o
TroubleshootingOther maintenance or service not included in the manual should be performed by an authorized service representative.Thank you for sele
1 2 3 45 6 7BISSELL consumer service18w w w . b i s s e l l . c a 1 - 8 0 0 - 2 6 3 - 2 5 3 5These items are available for purchase as accessories f
Replacement parts are available through BISSELL Consumer Services, an authorized BISSELL Service Centre or by visiting our website. Below is a list of
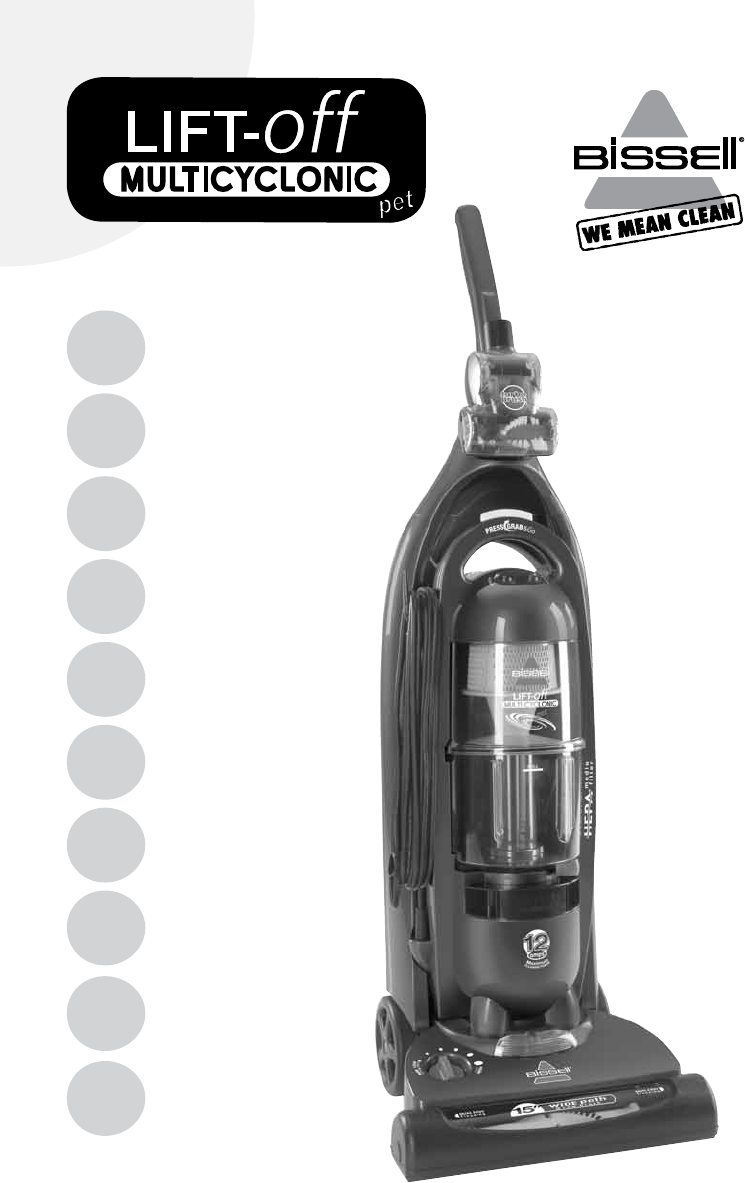
2Thank you for buying a BISSELL Lift-Off® MultiCyclonic vacuum 2w w w . b i s s e l l . c a 1 - 8 0 0 - 2 6 3 - 2 5 3 5We’re glad you purchased a B
20w w w . b i s s e l l . c a 1 - 8 0 0 - 2 6 3 - 2 5 3 5Warranty©2010 BISSELL Homecare, IncBISSELL Canada CorporationMississauga, ON L5N 0B3All rig
3IMPORTANT SAFETY INSTRUCTIONSWhen using an electrical appliance, basic precautions should be observed, including the following: READ ALL INSTRUCTIO
4w w w . b i s s e l l . c a 1 - 8 0 0 - 2 6 3 - 2 5 3 5 CAUTION: Do not plug in your vacuum cleaner until you are familiar with all instructions a
5w w w . b i s s e l l . c a 1 - 8 0 0 - 2 6 3 - 2 5 3 5How to use this guideAssembly WARNING: Plastic film can be dangerous. To avoid danger of
16w w w . b i s s e l l . c a 1 - 8 0 0 - 2 6 3 - 2 5 3 5Attach vacuum hose and tools continued3. Snap the telescoping extension wand, crevice tool
7w w w . b i s s e l l . c a 1 - 8 0 0 - 2 6 3 - 2 5 3 5Power height adjustmentThe powerfoot on your vacuum can be adjusted to clean several floor
BuckleSpecial tools continuedPet TurboBrushTM:Use for removing dirt and pet hair from stairs, upholstery, area rugs, and other small areas. Pull towar
16w w w . b i s s e l l . c a 1 - 8 0 0 - 2 6 3 - 2 5 3 5Cleaning with the detachable canisterThe detachable canister feature makes it possible to e
Related products and manuals for Vacuums Bissell 18Z6
 (16 pages)
(24 pages)
(12 pages)
(20 pages)
(8 pages)
(16 pages)
(24 pages)
(12 pages)
(20 pages)
(8 pages)
 (12 pages)
(20 pages)
(20 pages)
(20 pages)
(24 pages)
(20 pages)
(12 pages)
(20 pages)
(20 pages)
(20 pages)
(24 pages)
(20 pages)
 (20 pages)
(12 pages)
(17 pages)
(20 pages)
(12 pages)
(17 pages)
© 2020, manymanuals.com. All rights reserved. | 0.071 s |
 Manymanuals.com
 Manymanuals.de
 Manymanuals.fr
 Manymanuals.it
 Manymanuals.pl
 Manymanuals.cz
 Manymanuals.es
 Manymanuals-pt.com
Comments to this Manuals